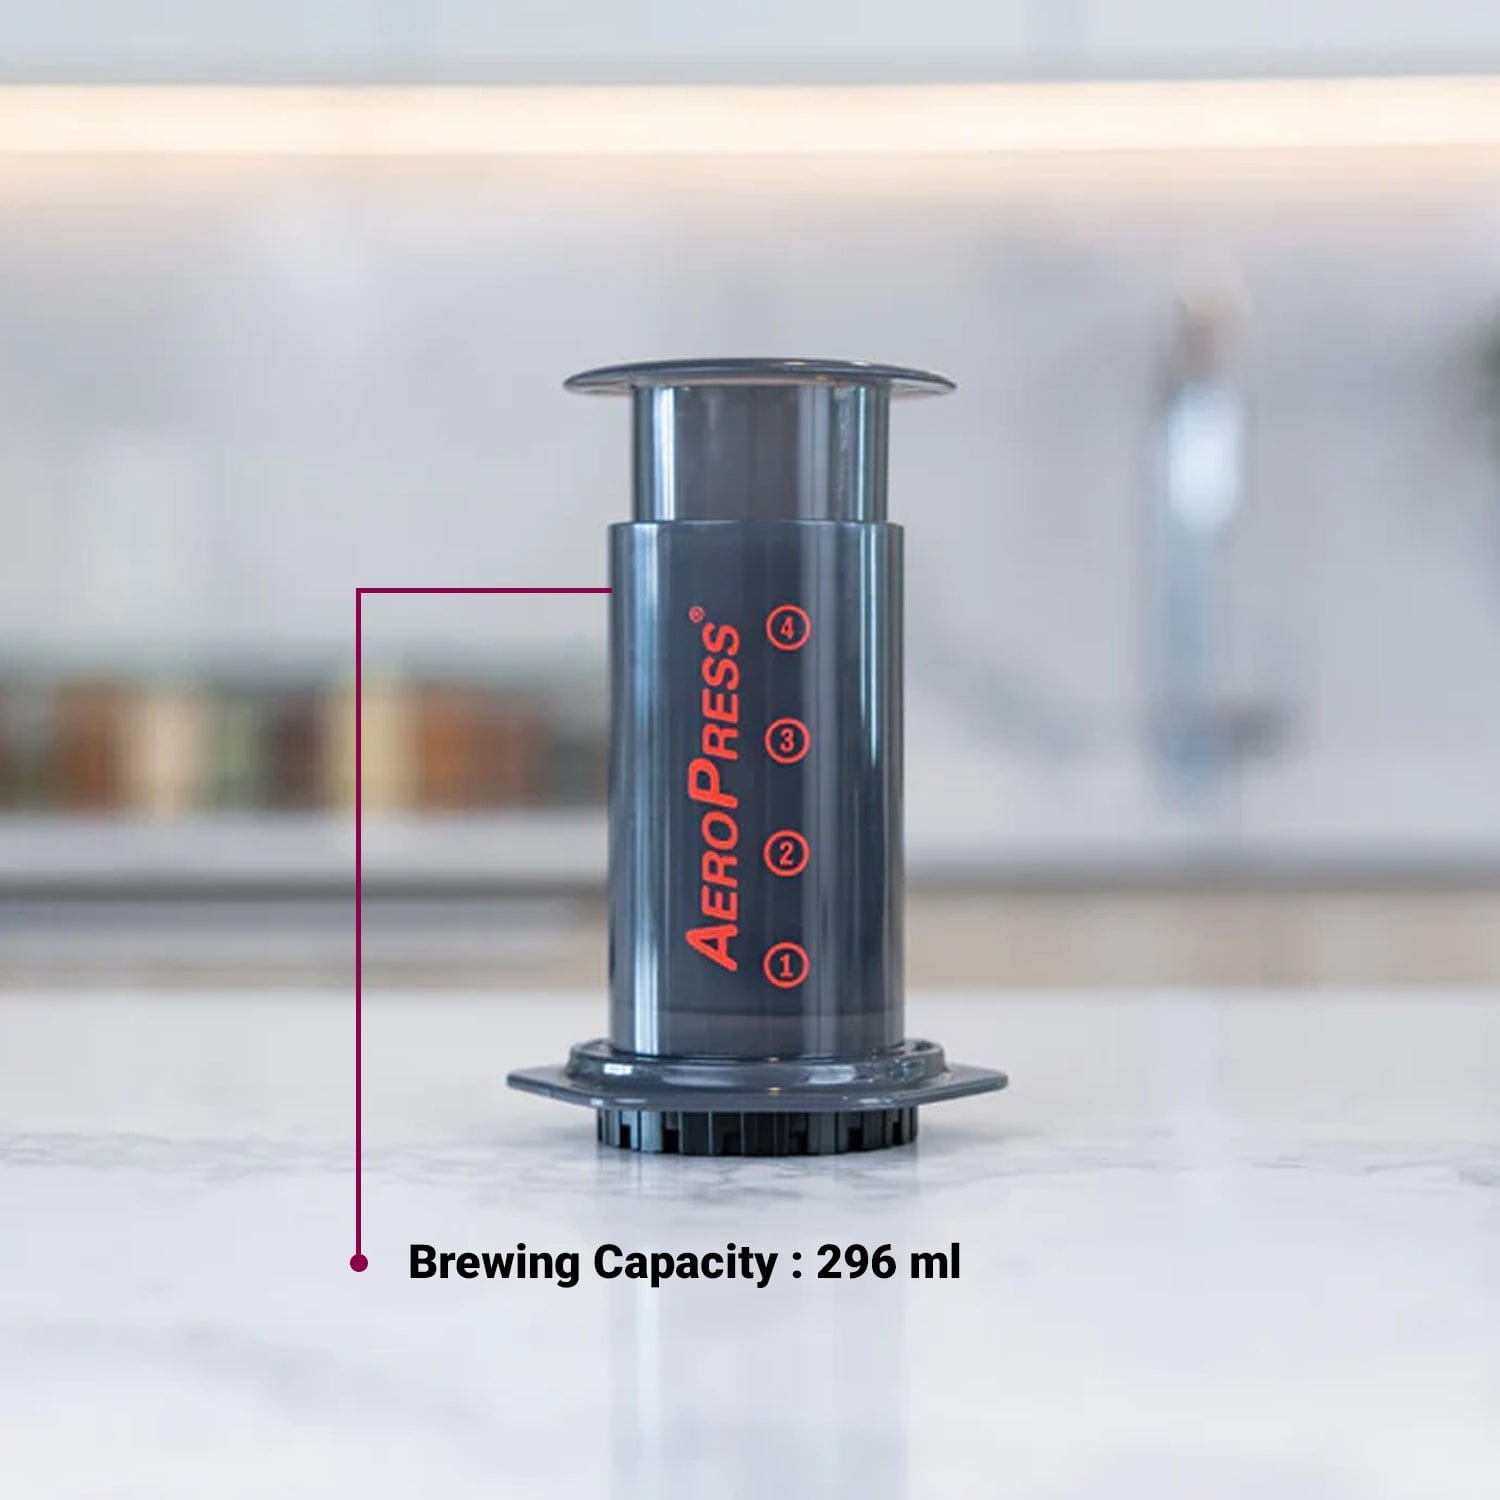

Why Choose AeroPress?
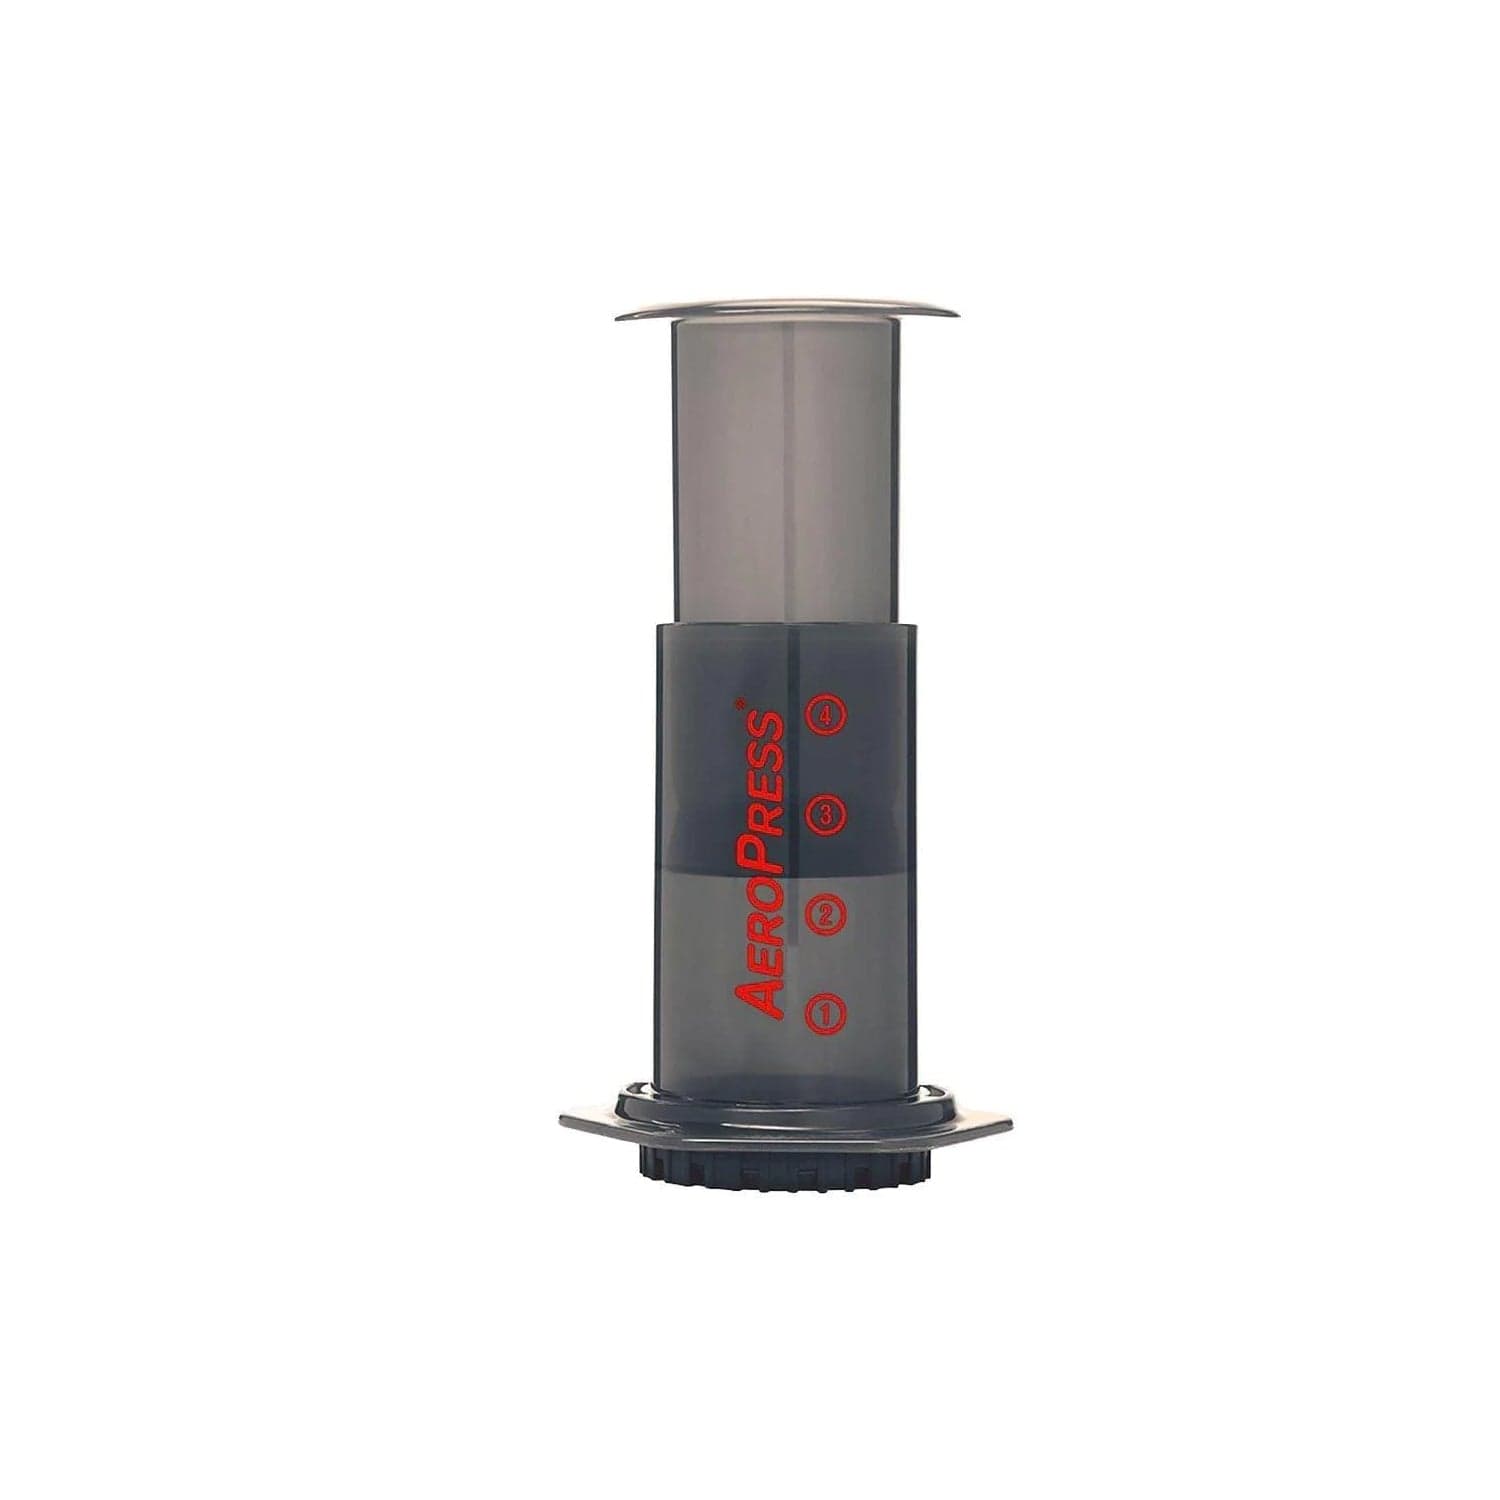
The AeroPress is one of the most popular starting points for anyone building out a home coffee setup. It brews a clean, full-flavoured cup in under three minutes, cleans up in seconds, and is small enough to travel with, which is a big part of why it's built such a loyal global following since it launched in 2005.
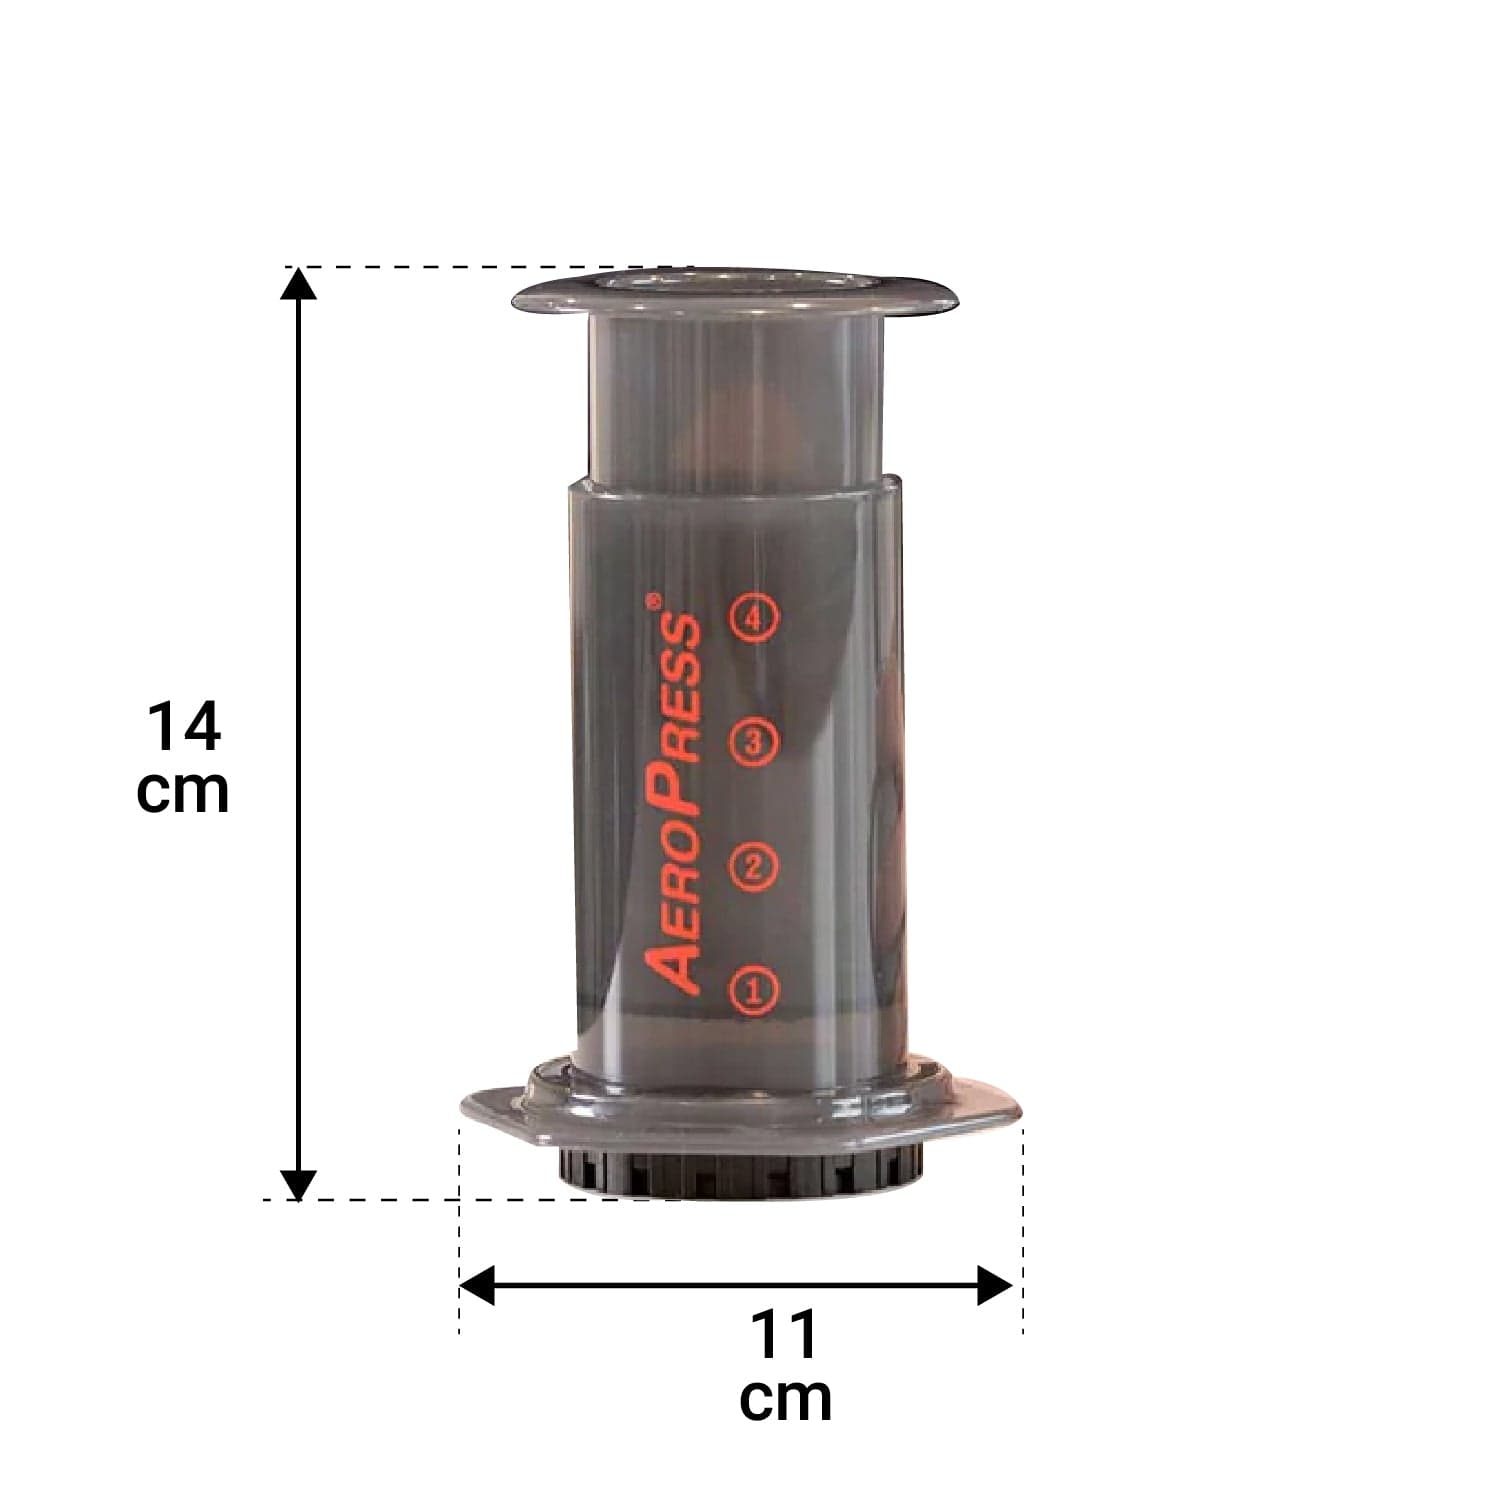
Compared to bulkier home coffee machines or commercial and restaurant-grade coffee machines used in cafes, the AeroPress strips brewing down to its essentials, no plumbing, no electricity, no steep learning curve. It's also a genuinely practical addition to an office coffee setup, since it's compact enough to keep in a desk drawer and doesn't need dedicated office coffee machines to produce a decent cup.
Brand Overview
The AeroPress was invented by Alan Adler, an engineer known for his work in aerodynamics, and released in 2005. Adler set out to build a simple, mechanically elegant piece of coffee equipment that could deliver a clean, rich cup without the complexity of espresso equipment or the wait time of a pour-over.
The result combined principles from immersion brewing methods like pour overs and moka pots with a pressure-driven finish, producing a brewing mechanism unlike traditional coffee machines or coffee brewing machines of its time.
That design has since inspired a genuine global community. The World AeroPress Championship is held annually, bringing together home brewers and professionals who compete using their own recipes and techniques, a strong signal of how much depth this simple-looking device actually offers.
How the AeroPress Works
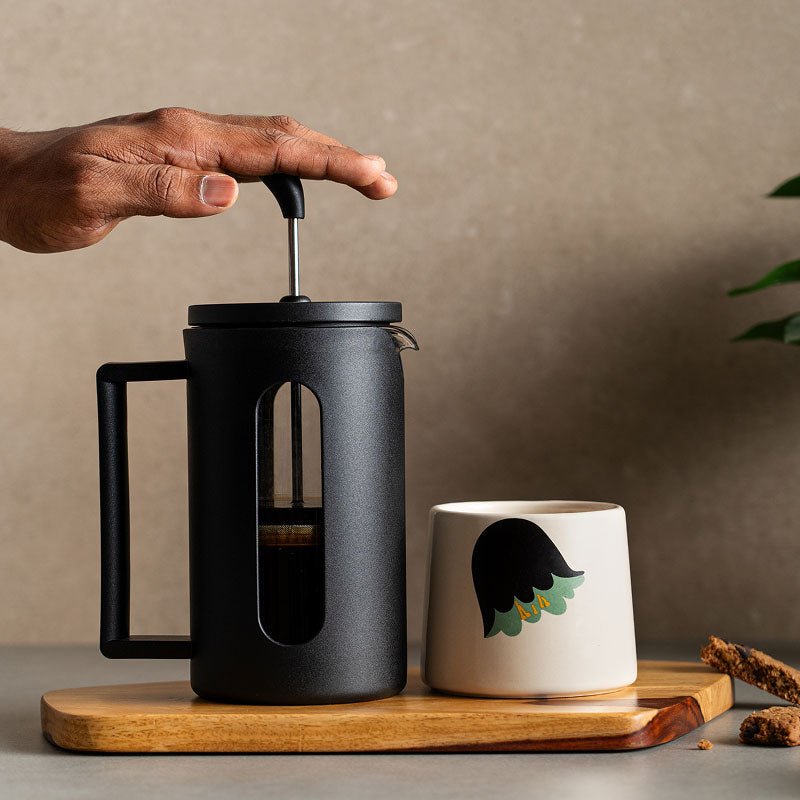
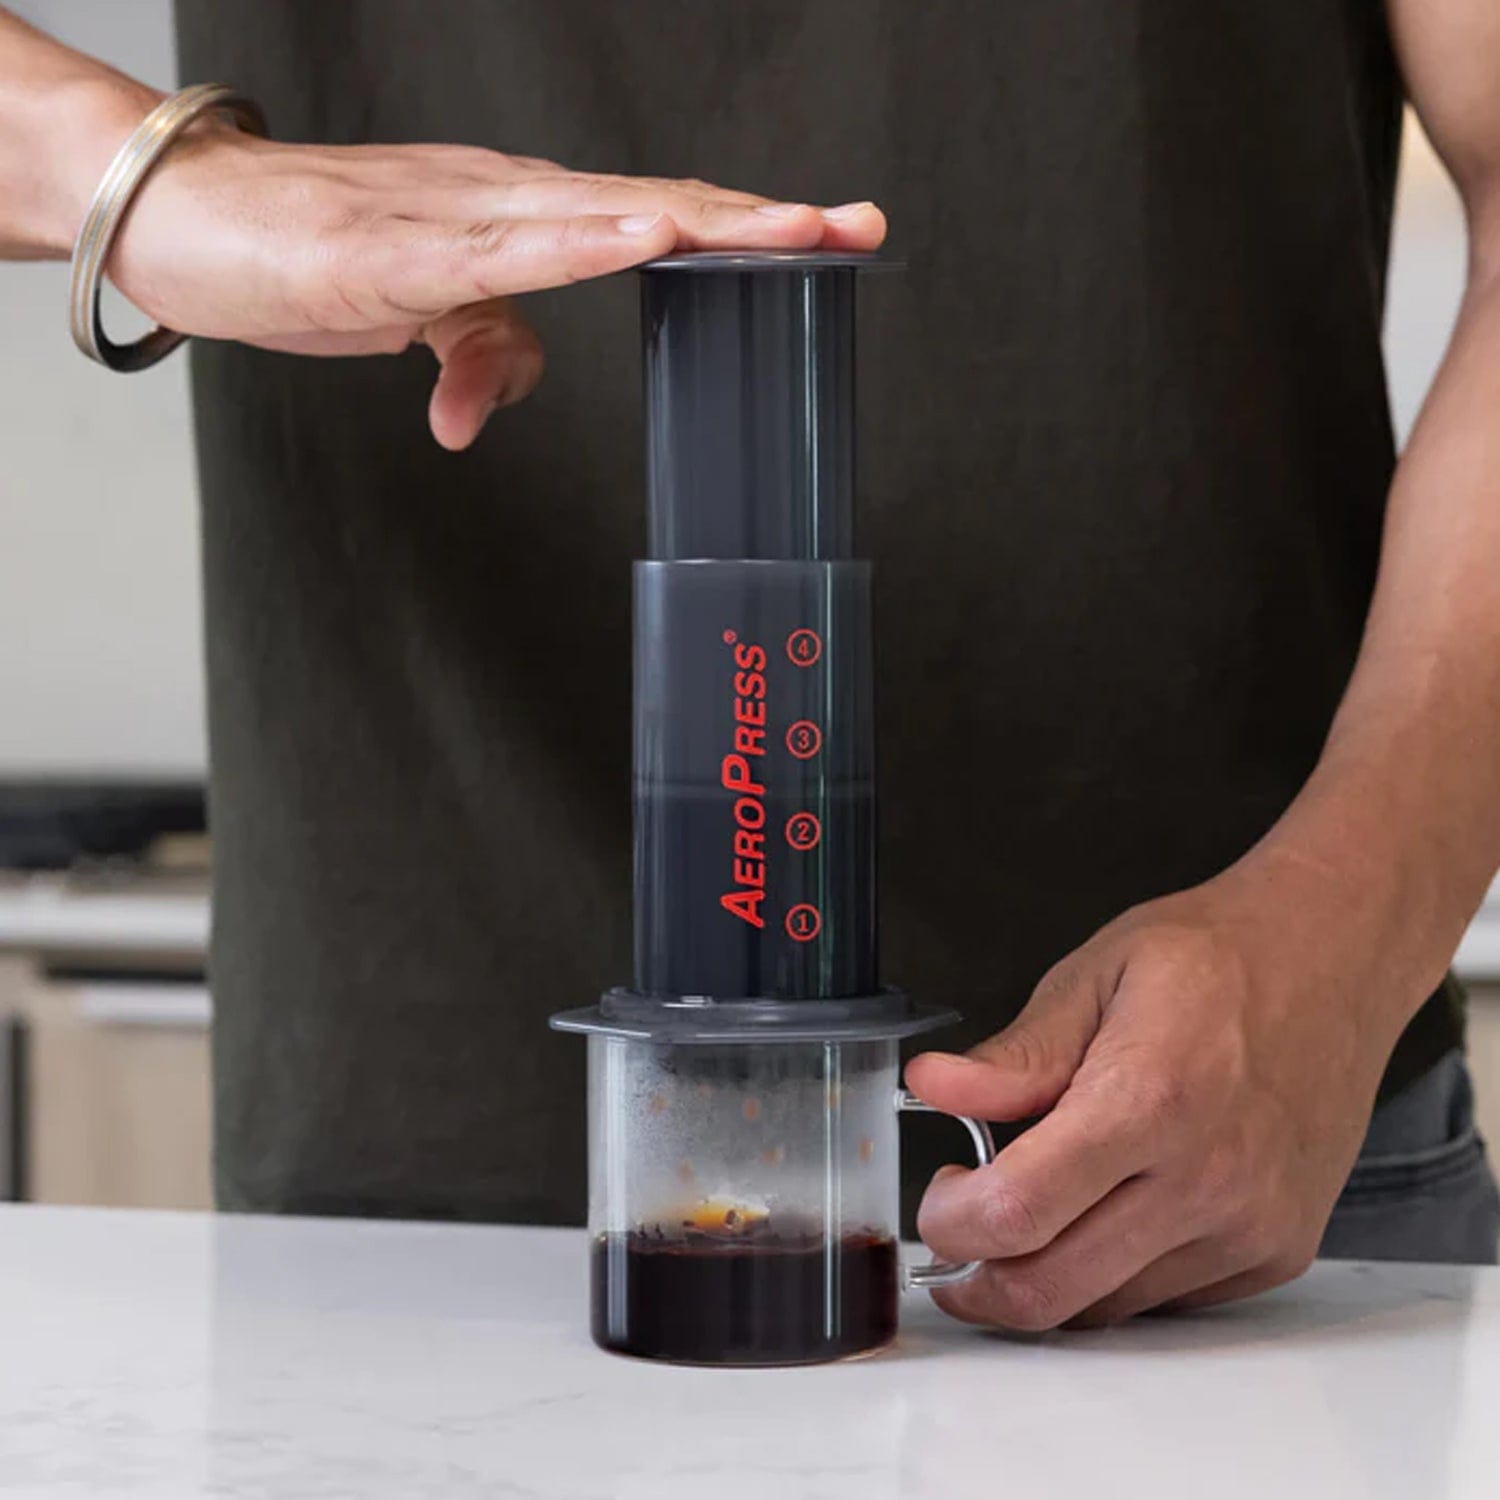
Unlike pour over or French press, which rely purely on gravity or immersion, the AeroPress combines steeping with light air pressure from the plunger. This shortens brew time significantly (about 2 to 3 minutes) while still extracting a full, rounded cup, and its paper filter keeps the final coffee notably cleaner and less gritty than a French press.
There are two common brewing approaches:
Classic Method:
The AeroPress sits upright with the filter at the bottom. Grounds and hot water go in, you stir briefly, then press. This is the more beginner-friendly method and produces a bright, clean cup.
Inverted Method:
The AeroPress is flipped upside down during steeping, then flipped upright onto your cup before pressing. This extends contact time between water and coffee, producing a fuller-bodied, more intense brew. It's popular with more experienced brewers who want extra control over extraction.
The AeroPress Range
| Product | Price | Notes |
|---|---|---|
| AeroPress Coffee Maker (Clear) | Rs.5,499 | Available in multiple colours, currently in stock |
| AeroPress Go Coffee Maker | Rs. 4,299 | Compact travel version with a mug/case combo |
| AeroPress Coffee Maker (Grey) | Rs. 4,199 | Standard classic AeroPress Classic Coffee Maker design |
| New AeroPress Go (Grey) | Rs. 4,299 | Updated travel edition |
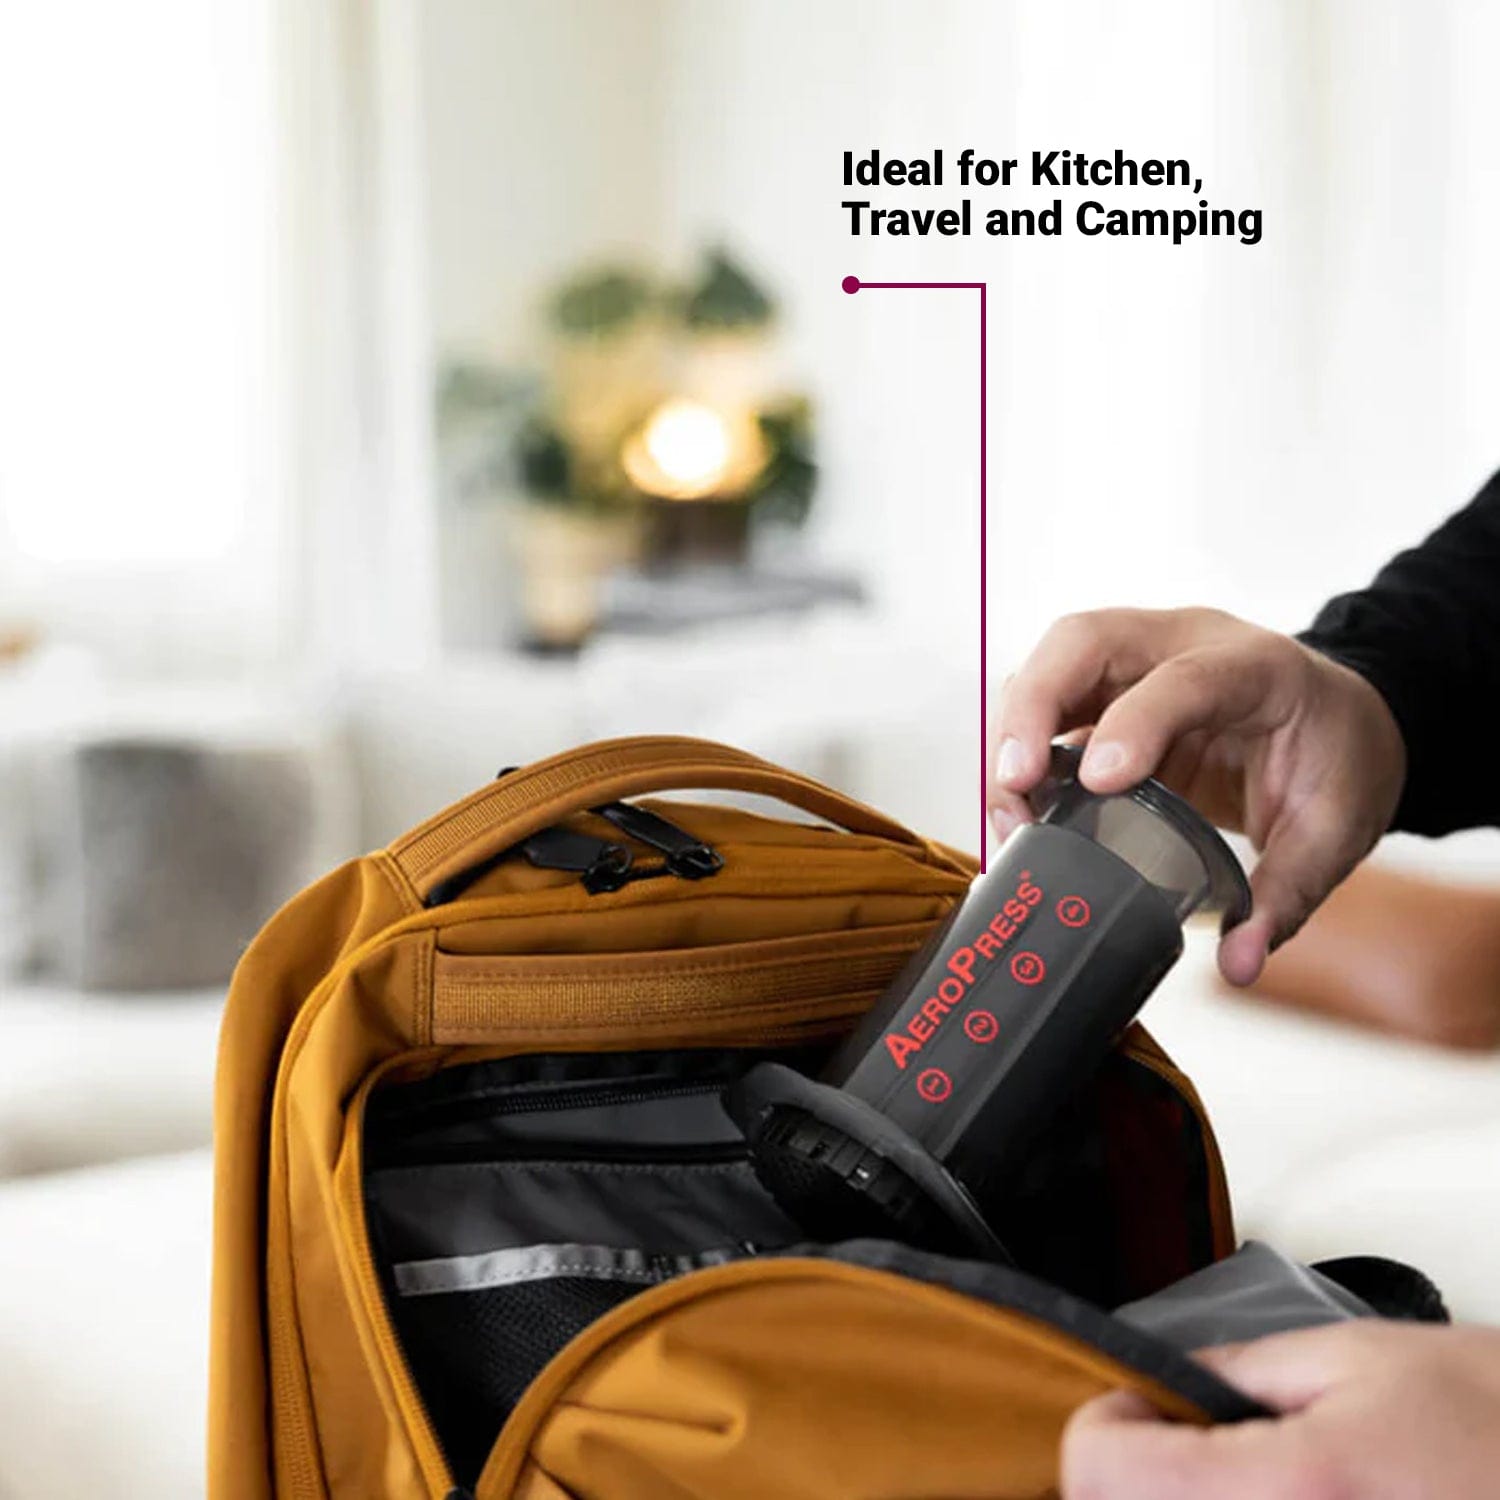
The AeroPress Go is built specifically for travel, it comes with a microwaveable mug that doubles as a carrying case, brews 1 to 3 cups at a time, and disassembles easily for quick cleanup on the road. The standard AeroPress models offer the same brewing mechanics in a slightly larger, kitchen-counter-friendly format.
Brewing Variables and Recipes
Beyond the classic and inverted methods, the AeroPress gives you real control over the final cup through a few key variables: water temperature (85 to 95°C, or 185 to 203°F, is the typical range, cooler than boiling to avoid over-extraction), coffee-to-water ratio, grind size, and steep time.
Adjusting any one of these shifts the balance between strength, acidity, and body. A kettle with temperature control makes hitting that range far easier than eyeballing it off the stove.
The AeroPress isn't limited to a single style of coffee. A finer grind and shorter ratio produces an espresso-style concentrate that works well as a base for lattes, cappuccinos, or Americanos, similar in spirit to what you'd get from automatic or semi-automatic espresso machines, just without the steam wand.
Using the inverted method with cold water and a long steep, typically 12 to 24 hours in the fridge, also makes a smooth, low-acid cold brew concentrate.
Compared to gravity-based methods like Chemex or standard pour over, the AeroPress's use of light pressure means less reliance on a slow, careful pour. And compared to a French press, its paper filter keeps sediment and acidity noticeably lower.
Finding the Right Grind Size
Grind size has a big effect on how your AeroPress coffee turns out:
- Fine to medium-fine grind for an espresso-style, concentrated shot
- Medium grind (similar to drip coffee) for a lighter, brighter cup that highlights more delicate flavour notes
Using a consistent burr grinder, electric or hand-powered, rather than a blade grinder makes a real difference here, since uneven particles lead to uneven extraction no matter how well you brew.
Cleaning and Care
The AeroPress is genuinely low-maintenance. After each use, disassemble it, push out the used puck and filter, and rinse the components with warm water, no soap needed for daily use.
For a deeper clean every few weeks, soak the parts in a mix of water and white vinegar to clear mineral buildup and coffee oils, then rinse thoroughly.
It's also worth periodically checking the rubber seal on the plunger; if it feels worn or brittle, replacing it keeps pressure, and extraction quality, consistent.
Its simple design and quick cleanup also make it a strong pick for travel brewing, pack it with a reusable filter, and you're set for hotel rooms, camping trips, or the office.