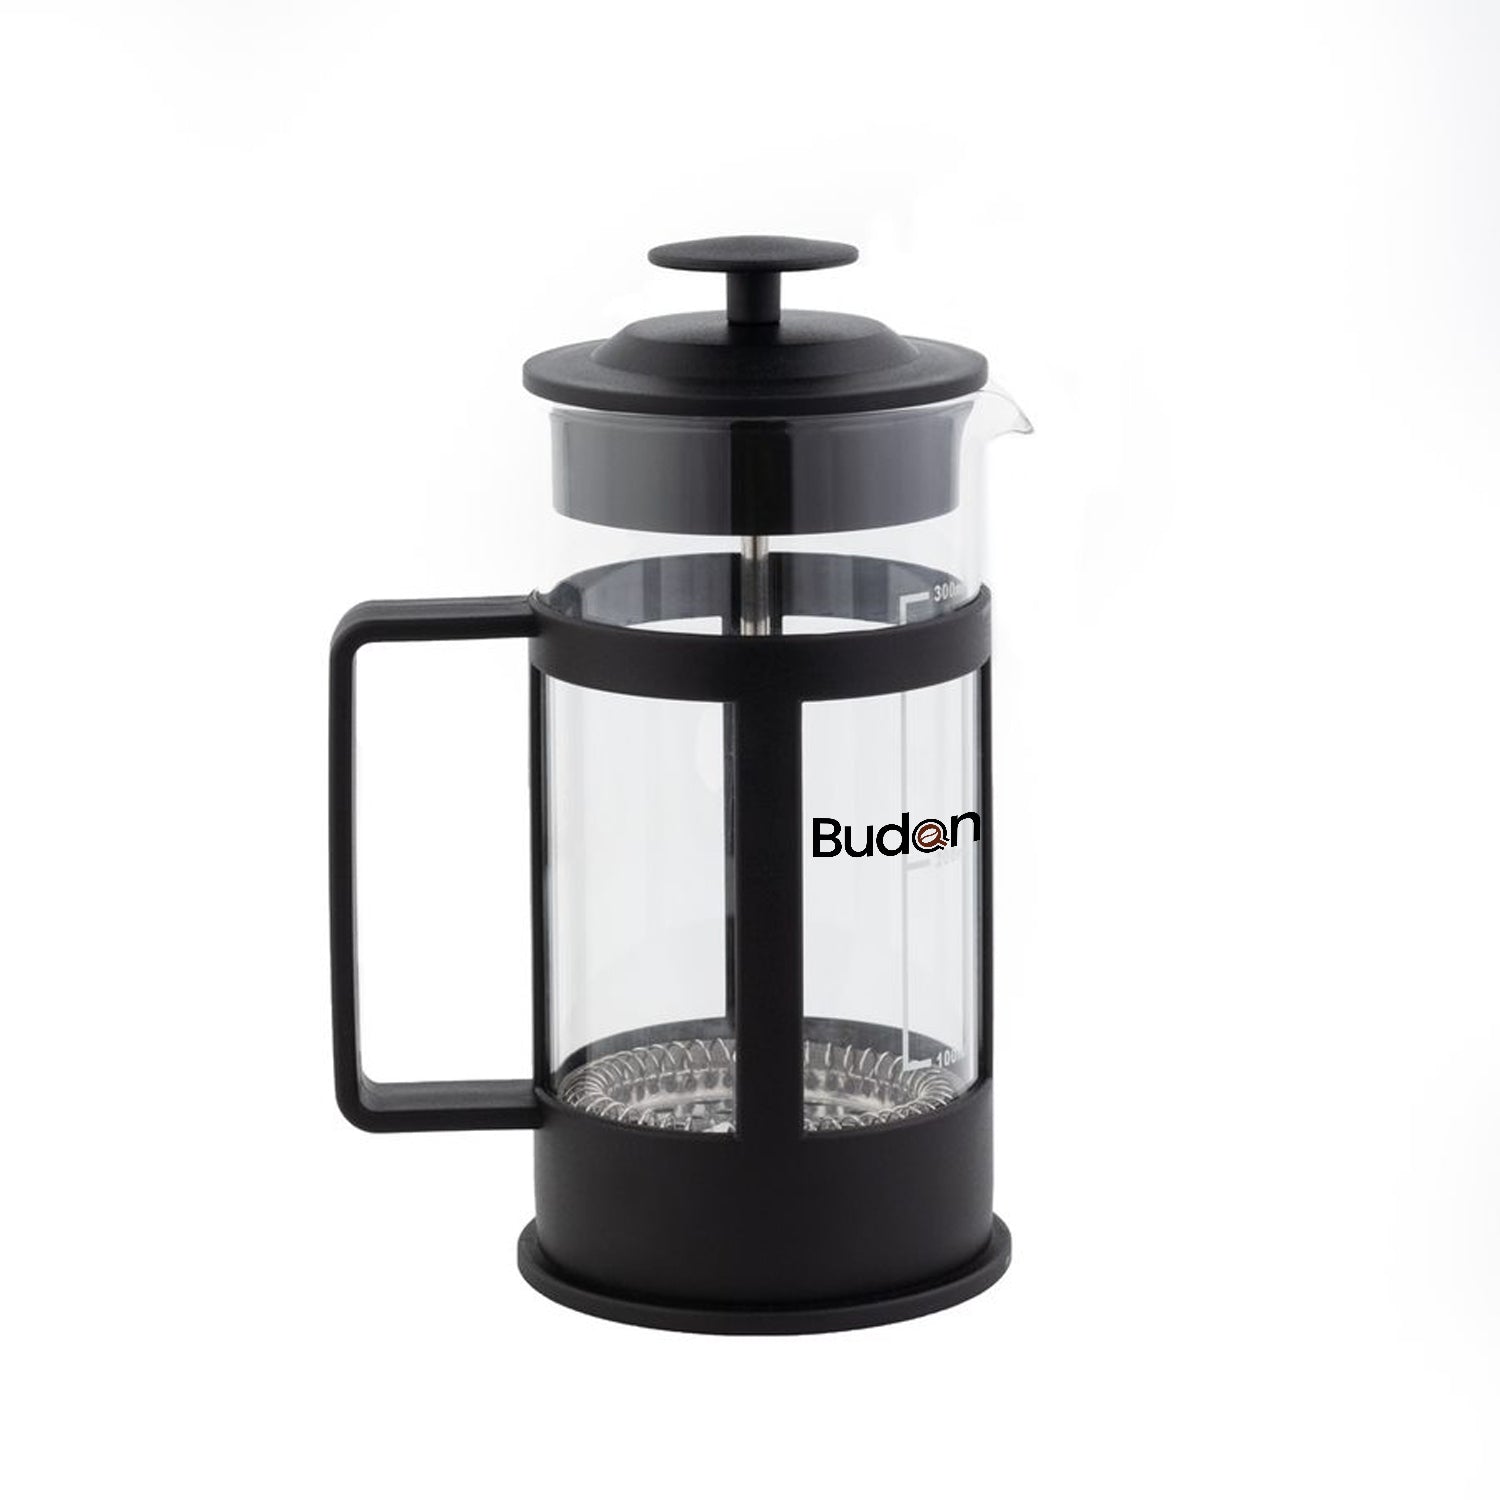
Craving a fresh cup of coffee? Well you can always have your coffee beans roasted in the coffee bean roaster and enjoy a rich, smooth and flavourful cup whenever you want. If you’ve ever wanted to roast your own coffee beans or create your own unique flavors, now is the time!You’ve got the control to experiment with different coffee origins but here you have to be sure of how you can achieve a great tasting coffee with utmost care and attention.
So let’s take one step further and delve into a step-by-step guide on coffee beans roasting. Go quickly grab your coffee and enjoy the read.
Step 1: Select the right bean
You need a good source of green coffee beans. For that you will have to do some research. Perhaps you can go to any local coffee shop and check what kind of beans they use.
Step 2: Roast it
If you’re using a coffee bean roaster, turn it on and set it to the right temperature. If you’re using an oven or heating in a pan, the ideal temperature to roast coffee beans should be around 450 degree F- 500 degree F.
Step 3: Determine your roast
There are mostly three types of roasts: light roast, medium roast and dark roast. Light roasts will take about 4-6 minutes, medium roasts will take about 5-8 minutes and dark roasts take 8-9 minutes.
While you’re going for dark roasts, make sure that you don’t exceed the time, else they can easily burn at this stage.
Step 4: Add coffee beans
Add your beans to the coffee bean roaster or any device you chose. At first, add half a cup of coffee beans in the coffee bean roaster if you are in doubt! You can always add more later depending on your requirement.
Step 5: Start roasting and stir the beans
While the beans start to roast in the coffee bean roaster, record the time and wait patiently.
But if you’re using an oven or heating them in the pan, make sure to constantly stir! Roasting them in an oven takes longer since you have to keep taking them in and out and stir every 30 seconds.
Step 6: Listen for the cracks
The “crack’’ sound is a sign of the first roasting stage, which yields a lighter roast. The second crack starts to occur around the seven-minute stage and is a good indicator of the medium roasts.
Dark roasts are the most crucial ones. So, remember to not leave on the coffee bean roaster than a minute and 30 seconds.
Step 7: Put the coffee beans in a ceramic container
Voila! Now the beans are perfectly roasted as you wanted. Transfer them into a ceramic container, never use plastic as it will melt because of very high temperature of the coffee beans.
Allow them to cool for a couple of minutes and toss them gently. This makes the ‘’skin’’ on green coffee to come off easily and the coffee will not taste bitter.
Step 8: After cooling
After cooling the beans, allow them to sit to de-gas for about 12 hours. A container with a degassing valve works best to let the CO2 out. But if you don’t have it, leave them in a container for 12 hours and immediately store them in an airtight container.
It’s ok to fail at your first roast but don’t give up too easily. Once you have practiced a few times, you’ll be good to go!
If you want to roast coffee beans at home often, then consider investing in a coffee bean roaster like the Aillio Bullet R1 from Something’s Brewing. It’s a compact drum roaster capable of cracking 1kg of beans in under 12 minutes. Incredible isn’t it? Go check out now!
Hope you enjoyed reading and got help with your coffee journey!
Have fun roasting coffee!


