Latte art turns your daily brew into a visual delight and signals craftsmanship. While it might seem intimidating, with the right technique and tools—even beginners can pour beautiful designs. Whether you're aiming for hearts, tulips, or swans, here’s how to build your skills and confidence.
1. Understand the Essentials
Two fundamental components make or break latte art:
1. Espresso with Crema
A fresh, well-pulled shot with a rich crema is the “canvas” for your milk—its emulsified oils and bubbles give contrast for the design.
2. Smooth Microfoam
Hot milk with tiny, velvety bubbles. It should be glossy, with no large bubbles. Baristas use these to paint on the espresso, but the real secret is mastering your milk texture and pour control.
2. Milk Steaming: The Foundation of Great Pouring
To achieve silky microfoam:
-
Use cold, full-fat milk (higher fat helps stabilize foam)
-
Start with the steam wand just below the surface to aerate for ~2–3 seconds, then sink deeper to heat milk to ~55–60 °C.
-
Swirl afterwards to eliminate bubbles and create a glossy liquid.
Great pour art starts at steaming—no texture, no design.
3. Master the Pour: Height, Position, Flow, Control
Prima Coffee breaks it down into core fundamentals:
-
Height: Begin from a few inches up to mix milk and espresso, then lower for design.
-
Position: Tilt cup at a 45° angle initially, straighten during the pour to layer design.
-
Flow: Start slow, then quicken close to the surface for white foam contrast.
-
Control: Get wrist movement and pitcher tilt consistent for clean shapes.
4. Basic Designs for Beginners
Heart
-
Pour from 10 cm up to sink milk.
-
When cup ~⅔ full, lower pitcher, increase flow to create a white dot.
-
Slowly lift and draw through the dot to finish a heart.
Tulip
-
Pour base dot.
-
After dot, lift pitcher, reduce pour, create smaller dot on top, repeat for layers.
-
Draw through the center to connect.
Rosetta
-
Lower pitcher, increase flow, wiggle side-to-side while pulling forward.
-
At the top, lift and pull through to form the stem.
5. Step‑by‑Step from Prima Coffee
Prima Coffee’s detailed process includes:
-
Comfortable body position to avoid strain.
-
Correct jug handling—tilting and aligning stream centerline.
-
Pour dynamics—start high, focus flow, adjust speed.
-
Troubleshooting: adjust milk texture, pour speed, cup tilt as needed.
6. Pro Tips & Troubleshooting
-
Practice makes perfect: Many baristas say it took 200+ pours to feel confident.
-
Keep milk cooler: Slightly cooler microfoam flows better..
-
Use pitcher technique: Shake jug to mix foam before pouring.
-
Cup matters: A concave cup with curved walls helps shape designs.
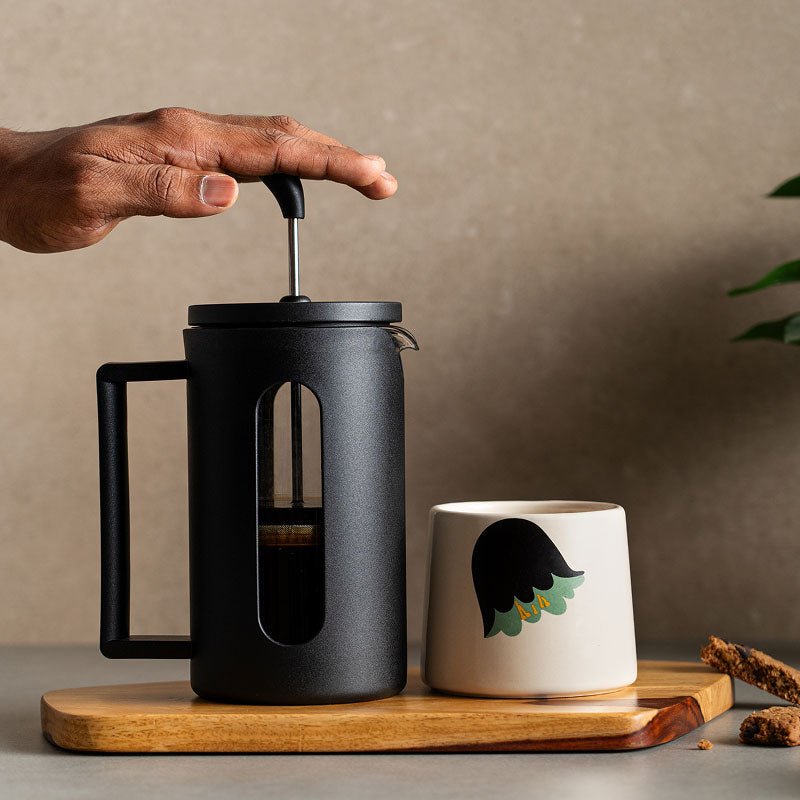
7. Why the Fellow Monty Milk Art Cup Elevates Your Game
To really shine, you need a great cup—and the Fellow Monty Milk Art Cup isn’t just stylish—it’s built for art:
-
Hidden parabolic slope lifts crema smoothly, helping foam settle evenly
-
Double-wall ceramic and insulated design keep your drink at ideal temperature for longer sessions .
-
Stackable and sleek: saves space and looks refined on any home bar .
-
Dishwasher safe (not microwave safe)
-
Bon Appétit editors praise it as a top pick for aspiring latte artists
It’s more than a mug—it’s your personal canvas for latte art growth.
8. Putting It All Together
Your At‑Home Latte Art Routine:
-
Pull a quality espresso shot with thick crema.
-
Steam milk to glossy microfoam.
-
Swirl milk pitcher to homogenize.
-
Pour: start high, find the center, adjust pour height/flow, use wrist action.
-
Focus on basic designs—master hearts, tulips, then rosettas.
-
Use the Monty Cup to highlight crema and sharpen contrast.
-
Practice, review, refine—photo your pours, note what works.
9. Feeling Frustrated?
-
Bubbles too big? Tap pitcher, swirl again.
-
Pour sinks under crema? Lower jug slowly.
-
Design fades? Juices too thin—make microfoam thicker.
-
Wobbly lines? Steady hand and wrist motion practice.
Remind yourself: every master started with wonky hearts. Each cup is progress.
10. Final Thoughts
Latte art is equal parts science, skill, and expression. With:
-
Quality crema
-
Silky microfoam
-
Confident pour technique
-
A thoughtful design canvas like the Monty Cup
…you’re well on your way.
So warm the cup, steam the milk, steady your hand—and let your creativity flow. Those first hearts might be imperfect, but don’t worry: even Picasso started with doodles. Before long, your kitchen will pour art destined for the ‘Gram.