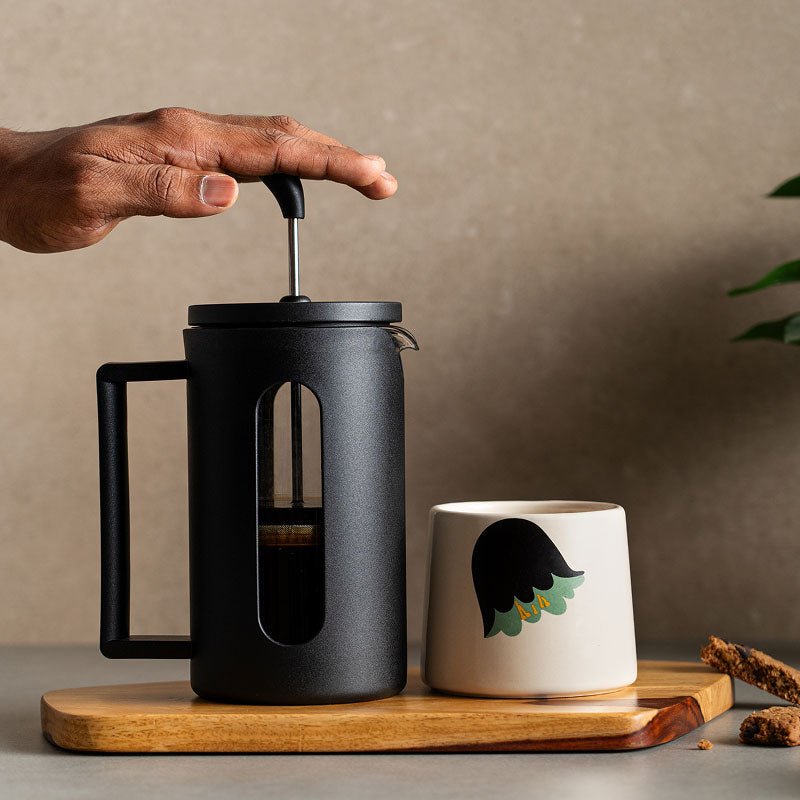
In the ever-evolving world of manual brewing, few tools have gained the cult following and international fame quite like the AeroPress. This deceptively simple device has redefined portable coffee-making with its compact design, quick brewing process, and smooth flavor output. Whether you’re a backpacker in the Himalayas, a student in a dorm room, or a barista competing in championships there’s a good chance you’ve come across, or swear by, the AeroPress. So, what makes this humble-looking contraption the darling of coffee lovers around the globe? Let’s dive into its origins, brewing techniques, variations, and why it continues to be a top pick for brewing on the go.
The Birth of the AeroPress: From Frisbees to Filtered Brew
The AeroPress was invented in 2005 by Alan Adler, the same innovator who gave us the Aerobie flying disc. A Stanford University engineering instructor, Adler sought to create a brewing method that would produce a rich cup of coffee without the bitterness typically associated with over-extraction. What resulted was a brilliantly engineered device that uses gentle air pressure to push hot water through coffee grounds and a microfilter. The end product? A cleaner, smoother, and less acidic cup of coffee in less than two minutes.
The AeroPress comprises three main parts:
-
The brew chamber
-
The plunger, which fits snugly inside the chamber to create an airtight seal (like a syringe)
-
A filter cap, which holds a paper or metal filter in place
How Does It Work?
The Standard Method: Recommended for Beginners
Step-by-Step Instructions:
1. Insert Filter
Place a paper filter inside the filter cap and rinse it with hot water to remove any papery taste.
2. Assemble the AeroPress
Twist the filter cap onto the brew chamber and place the chamber over your mug, filter side down.
3. Add Coffee
Add 14–18 grams (1 to 2 tablespoons) of ground coffee into the chamber.
4. Pour Hot Water
Add hot water up to the desired mark (typically up to "2" or "3") depending on how strong you want the brew.
5. Stir the Slurry
Use the stirrer or spoon to mix the coffee and water for about 10 seconds.
6. Insert Plunger and Press
Insert the plunger and press down slowly for 20–30 seconds until you hear a hissing sound.
7. Remove and Clean
Unscrew the filter cap, pop out the coffee puck, and rinse all parts.
Your smooth, aromatic cup is ready! Enjoy it as is or dilute with hot water or milk.
Inverted Method: For More Control & Flavor
The inverted AeroPress method flips the brewing device upside-down during steeping. This technique gives you more control over the extraction time, allowing the coffee to steep longer before plunging. The result is a richer, fuller-bodied cup.
Step-by-Step Instructions:
1. Set Up Inverted
Insert the plunger into the chamber about 1 cm and stand the AeroPress upside-down on the plunger.
2. Add Coffee
Add 14–18 grams of medium-fine coffee to the inverted chamber.
3. Pour Water & Stir
Pour hot water (to the top) and stir for 10–15 seconds.
4. Let It Steep
Steep for 1–2 minutes depending on your taste preference.
5. Attach Filter Cap
Place a rinsed filter into the cap and screw it onto the top of the chamber.
6. Flip Carefully
Holding both the plunger and chamber tightly, flip the AeroPress onto your mug.
7. Press Slowly
Gently press down until fully extracted (you'll hear a light hiss).
8. Clean Up
Remove the cap, pop the puck, and rinse everything.
Pro Tips:
-
Use a scale for precise coffee-to-water ratios (e.g., 1:15).
-
Try metal filters for more body and oils; paper filters for cleaner taste.
-
Experiment with cold water and steep for 12 minutes for AeroPress-style cold brew.
-
For a stronger cup, use a finer grind and less water. For a milder brew, dilute after pressing.
This method is favored by competitors in the World AeroPress Championship, where creativity and precision are celebrated in equal measure.
Why It’s the Ultimate Travel Brewer?
If you’re someone who can’t compromise on good coffee while traveling, the AeroPress is your best friend. Here’s why:
-
Portability: Lightweight and compact, it fits into any backpack or carry-on.
-
Durability: Made of high-grade BPA-free plastic, it’s practically indestructible.
-
Quick Brew Time: Ready in under 2 minutes.
-
Easy to Clean: Just eject the coffee puck, rinse, and you’re done.
-
No Electricity Needed: Ideal for camping, road trips, and remote destinations.
The AeroPress has also become a popular choice in Indian households due to its ease of use and consistent results—even with less-than-perfect beans or water.