Frothed milk is what turns a plain cup of coffee into a latte or cappuccino, and you do not need an espresso machine with a steam wand to get it. Milk froth is really just air worked into milk protein until it holds its shape, and there are several ways to do that using tools most kitchens already have. Below are four tested methods, what kind of foam each one produces, and the milk and temperature choices that make the biggest difference to the result.
The French Press Method
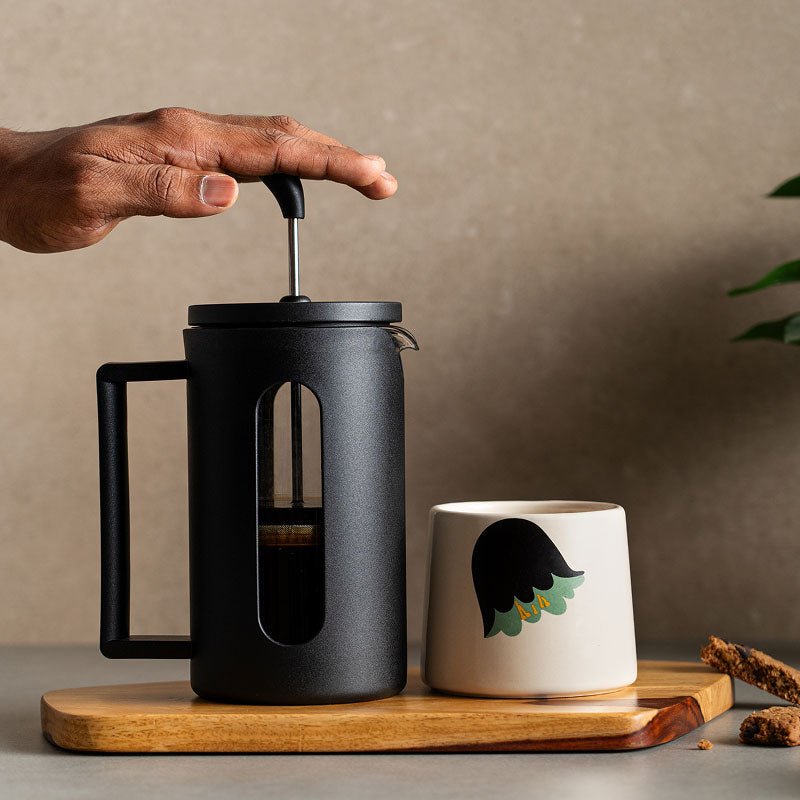
A French press works as an effective manual milk frother because its plunger and mesh filter force air through the milk with every stroke. Pour cold milk into the press, filling it no more than halfway to leave room for expansion, then pump the plunger up and down twenty to thirty times. The milk should nearly double in volume as air gets worked into it. Microwave it for about thirty seconds to stabilise and warm the foam, then spoon it onto your coffee. Avoid over pumping, since too many strokes can make the froth stiff or cause it to spill over the rim.
The Mason Jar Method
This is the simplest way to froth milk without any brewing equipment at all. Pour cold milk into a mason jar or any container with a tight lid, filling it about a third full, then shake vigorously for around a minute. You should see large, visible bubbles forming inside. Remove the lid, microwave for twenty to thirty seconds to set the foam, and pour it over your coffee. This method produces a looser, bubblier foam rather than the fine microfoam used for latte art.
The Blending Method
A hand mixer, blender, or even a whisk gives you the most control over foam texture. Warm the milk first, then insert the mixer head and turn it on. Slowly raise the head toward the surface until you hear a light fizzing sound, which signals that air is being pulled into the milk. Hold it near the surface for a few seconds to build foam, then lower it again to keep the texture even. This method comes closest to producing steamed milk style microfoam among the manual options.
The Pulling Method
An old school technique that needs nothing but two containers. Pour the milk back and forth between them from a height, and each pour introduces more air. It builds volume reliably, though it will not give you the fine, dry microfoam of a steam wand or dedicated frother, so it suits a rustic foam rather than latte art.
Which Milk Froths Best
Frothing is not limited to dairy. Barista blends of oat milk and soy milk are formulated to froth close to dairy performance, while regular almond or coconut milk tends to be thinner and less stable when whipped. Fat content also changes the result: full fat or whole milk gives a heavier, creamier foam with better mouthfeel, while skim or low fat milk produces more volume and a lighter, airier foam. Always start with milk straight from the refrigerator, since cold milk holds air better while being worked, and warm it only after frothing so the foam does not collapse before it reaches your cup. A microwave alone will not froth milk, since heat without agitation adds no air, it should only be used to warm milk before or after one of the methods above.
A Faster Option for Daily Use
If you froth milk often and want a consistent result without shaking jars or pumping a French press, a small handheld frother does the job in under a minute. The Budan Milk Frother is priced at Rs. 699 and gives repeatable results with far less effort than the manual methods above. Pair it with a Milk Steaming Pitcher at Rs. 1,599 for better pouring control if you are working on latte art.